
If you’ve ever stared at your camera wondering what half the buttons even do — welcome to
the club. Most new photographers start out in “Auto” mode. And fair enough — it’s safe,
simple, and usually gets something usable.
But if you want to make the photos you imagine, you’ll eventually need to take the controls
yourself.
At Photography Made Simple, I believe learning your camera shouldn’t feel like decoding
rocket science. Once you understand just a handful of key settings, your photos will start
looking more intentional — even before you join one of my courses.
Think of this as your pre-class cheat sheet — the essential know-how that helps you get more
out of your camera and my beginner-friendly courses like Camera Essentials and Camera
Mastery.
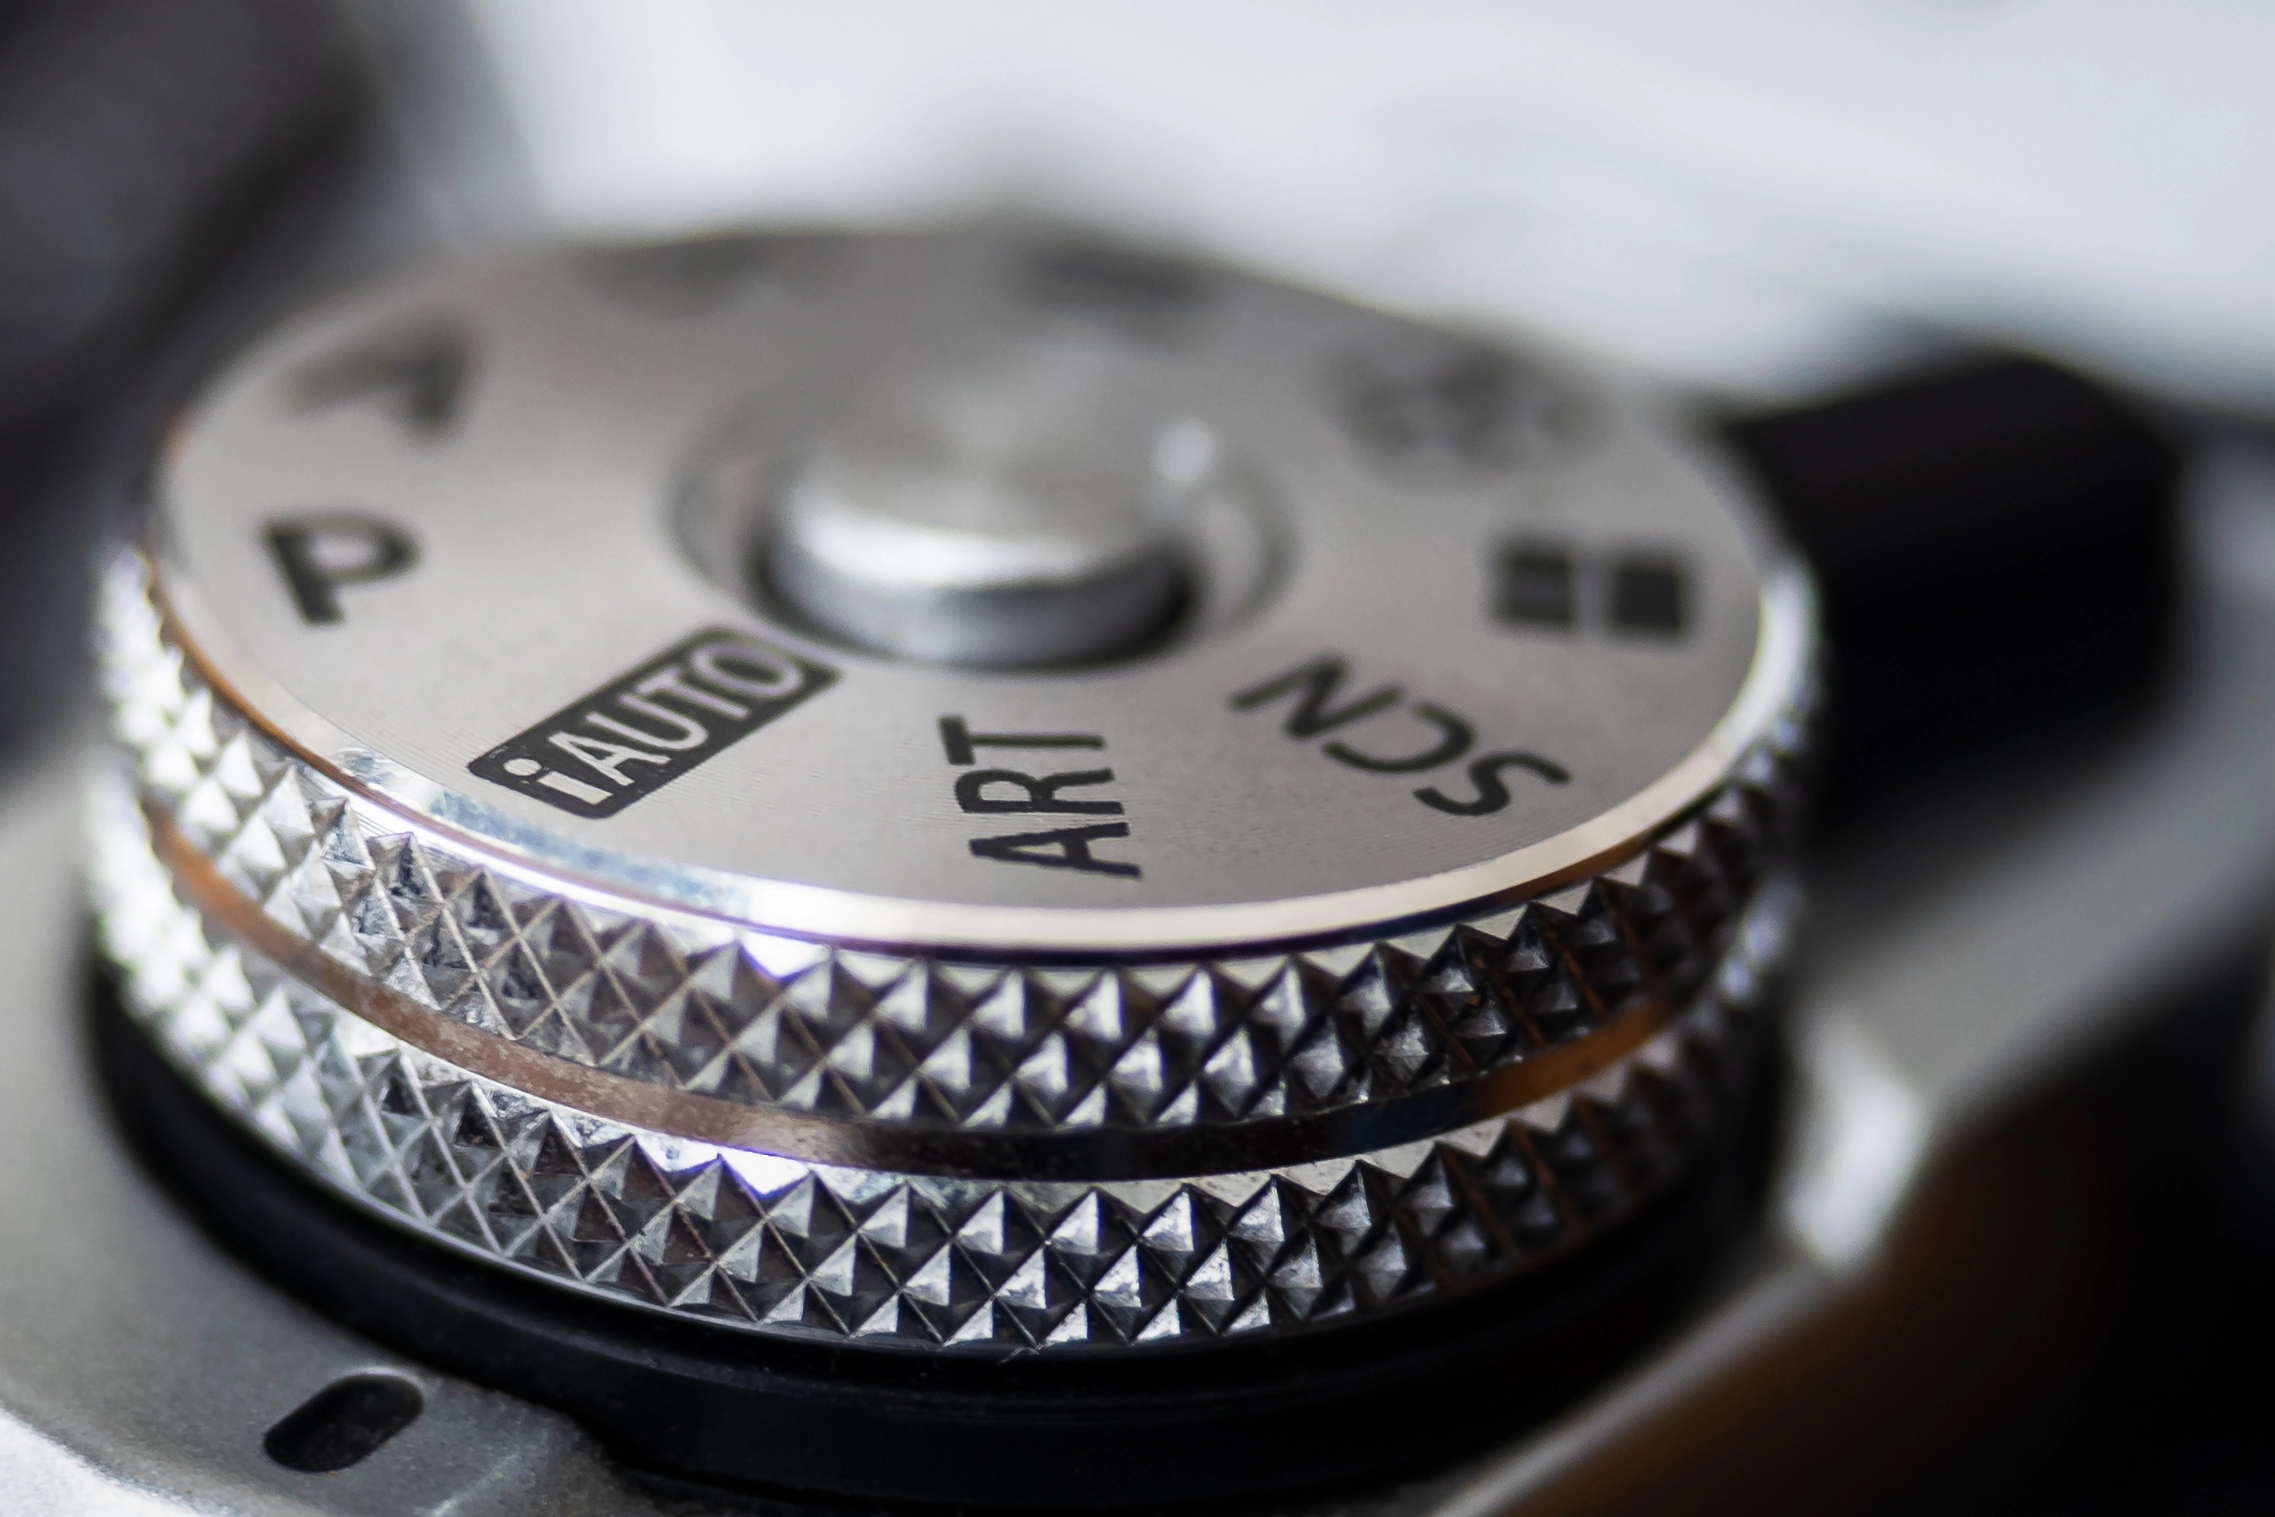
Why Ditch Auto Mode
AUTO mode is clever, but it’s not creative. It makes decisions for you — aiming for
“technically correct,” not visually interesting.
Want a soft background for a portrait? AUTO might keep everything sharp.
Trying to freeze your kid mid-jump? AUTO might blur the moment into mush.
Taking charge means understanding the Exposure Triangle — the trio of Aperture, Shutter
Speed, and ISO. These control how bright or dark your photo is, but more importantly, how
it feels.
Here are the five key settings to start experimenting with today.
1) Aperture – The Depth-of-Field Maker
Think of aperture like a window to a room.
A big window lets in lots of light — the room is bright.
A small window lets in less light — the room is dim.
It’s measured in f-stops: f/1.8, f/4, f/11, and so on.
Here’s the trick:
Small number = big opening = more light and background blur.
Big number = small opening = less light and more sharpness.
Wide Aperture (f/1.8–f/4) → lots of light, shallow focus, blurry background. Perfect
for dreamy portraits.
Narrow Aperture (f/11–f/22) → less light, deep focus, everything sharp. Ideal for
landscapes.
If you attend one of my classes, we’ll dive deeper into aperture by experimenting
with real setups — showing you exactly how to control focus, depth, and light to
create the look you want every time.
Small F number (F2.8) to blur the background for portraits-

2) Shutter Speed – The Motion Controller
Shutter speed is simply how long your camera’s shutter stays open.
Measured in fractions of a second — 1/1000, 1/250, 1/30 — it controls how motion looks.
Fast Shutter (1/500 or quicker) → freezes action. Great for sports or wildlife.
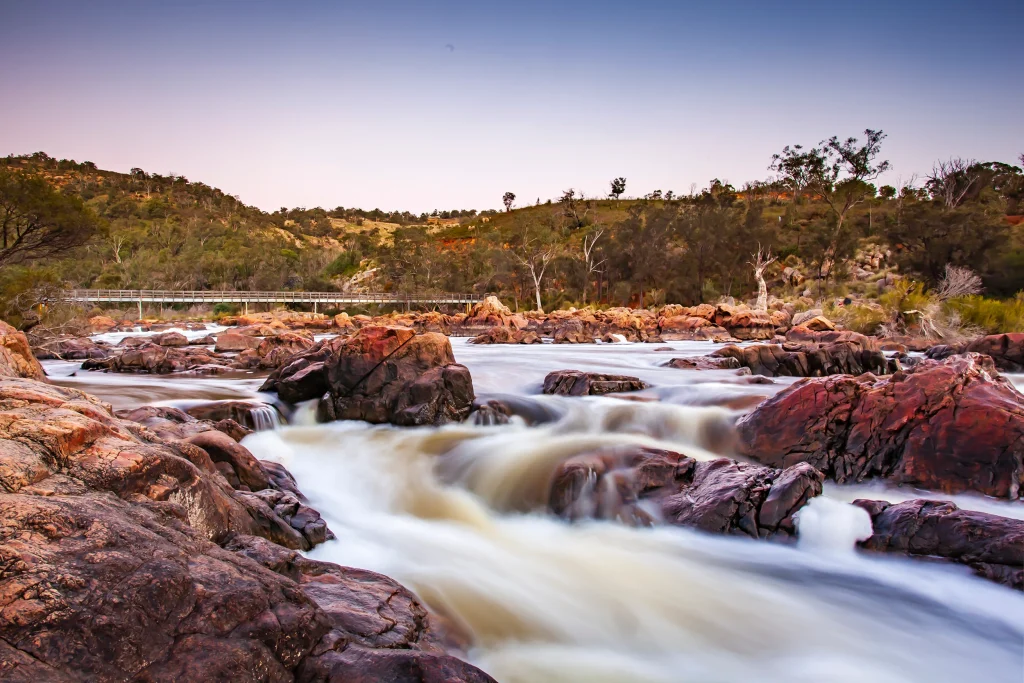
Slow Shutter (1/30 or slower) → blurs motion beautifully. Think flowing waterfalls
or night traffic trails.
Use a tripod for anything slower than 1/60 to avoid shaky results.
During my classes, you’ll learn how to master shutter speed through hands-on
exercises — from capturing crisp movement to creating smooth, artistic motion blur
that tells a story.
Slow shutter at Bells Rapids –
3) ISO – The Light Sensitivity Booster
ISO controls how sensitive your camera’s sensor is to light.
Low ISO (100–200) gives clean, high-quality images in bright conditions.
High ISO (800–3200+) helps in low light but adds “noise” — that grainy texture you
sometimes see.
Think of ISO as your backup plan when light runs out. The goal? Keep it as low as you can,
raise it only when you must.
4) White Balance – The Colour Corrector
Ever noticed indoor photos look yellow or outdoor shots look blue? That’s white balance.
It tells your camera what true white is, so colours look natural.
Most of the time, Auto White Balance (AWB) nails it. But try the presets — Daylight,
Cloudy, Tungsten, Shade — and you’ll start seeing how light temperature affects mood.
In Perth’s golden sunsets or overcast coastal scenes, a quick white balance tweak can make
colours sing.
5) Focusing Modes – Getting It Sharp
A perfect moment means nothing if it’s out of focus. Your camera has a few modes to help
with that:
Single AF (AF-S / One-Shot) – locks focus when you half-press the shutter. Great for
still subjects.
Continuous AF (AF-C / AI Servo) – continually adjusts the focus as the subject
move. Use for kids, pets, or action.
Auto AF (AF-A / AI Focus) – lets the camera decide. Handy, but not always perfect.
Why master it before class? Getting sharp photos is fundamental. Practice switching between
these modes based on your subject. This will make a huge difference in the quality of your
images.
Ready to Take the Next Step?
Once you start playing with these five settings, you’ll see how much creative control you
actually have. You’ll stop relying on luck — and start shooting with intent.
These are the foundations I build on in my Photography Made Simple courses.
By the time you join Camera Essentials or Camera Mastery, you’ll already be thinking like
a photographer.
Explore my courses today and take your first confident step beyond Auto mode.